The development team is always at the core of an IT product. In AdsPower, a team of professionals has accomplished the most basic and yet crucial thing that can be done with software: making a complex product accessible to everyone.
Asian programmers excel in working with security systems. Therefore, it’s not surprising that in such a specialized industry as multi-accounting and internet advertising, a high-quality product with a focus on security has been released by a team from Singapore.
Today we will explain what makes AdsPower better than other anti-detect browsers and demonstrate that even a novice can handle it.
What you need to know about AdsPower
AdsPower is an anti-detect browser designed for simultaneous management of multiple accounts on various social networks, advertising platforms, and other websites. It was created in 2019 and operates on Chromium and Firefox bases. AdsPower allows creating unique browser fingerprints for each account, effectively simulating the actions of unique users while minimizing the risk of bans.
The browser is used by webmaster, affiliates, e-commerce experts and internet marketers. The AdsPower team actively works on periodic updates and improvements, adding various features and capabilities for safer and more efficient work. For example, at the beginning of 2022 a multi-core functionality was developed, making the anti-detect browser even more reliable.
Advantages of AdsPower:
- Three ways to create profiles – single, fast, in batches;
- IP addresses are automatically selected if you use proxies integrated with AdsPower. This means that the browser will match the location to the loaded IP;
- Allows emulation of all popular operating systems: Windows, macOS, Linux, Android and iOS;
- Only real fingerprints;
- Offers a three-day full-featured trial;
- Supports multiple languages;
- Up to a 20% discount when purchasing for a year;
- When connecting advertising accounts, you can track information from them directly in the anti-cabinet interface;
- A set of plugins that webmasters can use for their work. There is also the possibility to upload your own plugins;
- Automation of repetitive actions in Facebook using an RPA robot;
- The ability to create templates for automation;
- Synchronization — the ability to manage accounts in one window;
- Availability of two types of storage: cloud and local;
- The ability to import an account using cookies and login+password;
- Three levels of authorization and functional grouping for teams;
- Simulation of human text input;
- Purchase history on Amazon to enhance trust;
- API for those who need more automation with RPA;
- Unique fingerprints that can be edited.
AdsPower also has a generous referral system – you will receive 10% of the first subscription of referred users.
AdsPower pricing
The AdsPower browser offers four pricing plans that can be customized for you and your team.
| Free | Base | Pro | Custom |
|---|---|---|---|
| $0 | starting from $9 | starting from $50 | depends on configuration |
| 2 profiles; 0 additional users. | 10 profiles; $6 per user + the ability to add more profiles. | 100 profiles; $10 per user + the ability to add more profiles | Header label |
| Firefox-based browser; Control over browser fingerprints; Profile synchronization between your computers; Import accounts through login/password or cookie files; Integration with all HTTP(S), SOCKS5, & SSH proxies; Simulation of mobile devices; Local API; Professional support by real people; Use of extensions from the store. | Everything in ‘Free’+ Ability to load extensions; Transaction log; Access control for team members; Profile transfer; RPA robot (5000 points for free). | Everything in ‘Base’+ Operations log; Access management for team members; Profile transfer; RPA robot (5000 points for free); Profile basket; Profile storage; Automatic proxy selection. | Everything in ‘Pro’+ On-demand profiles; On-demand team. |
How to get started with AdsPower
To start working with the AdsPower antidetect browser, you need to:
- Download and install AdsPower;
- Register an account and make a payment;
- Launch and configure AdsPower.
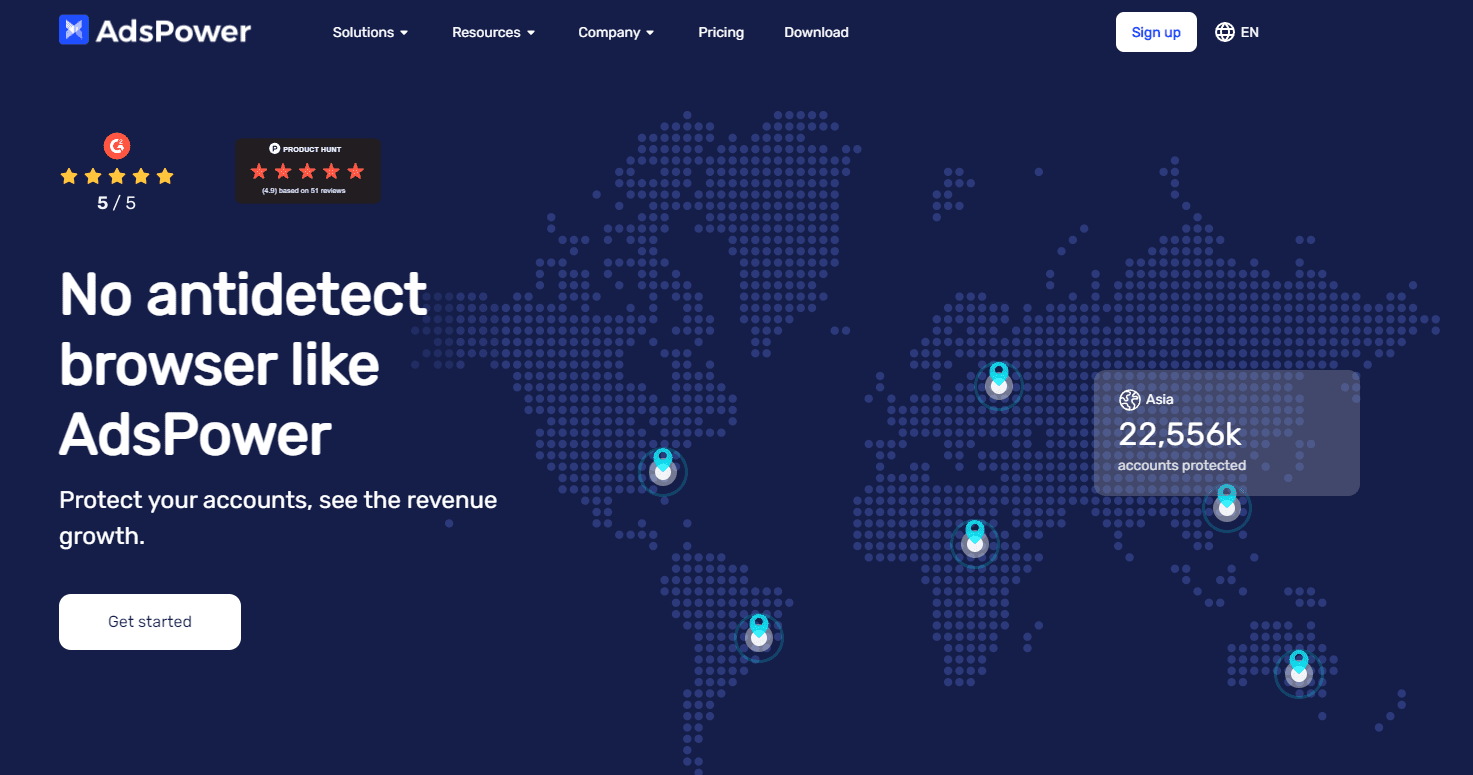
First, visit the AdsPower website and click “Download” in the upper right corner of the screen:
Choosing your device platform:
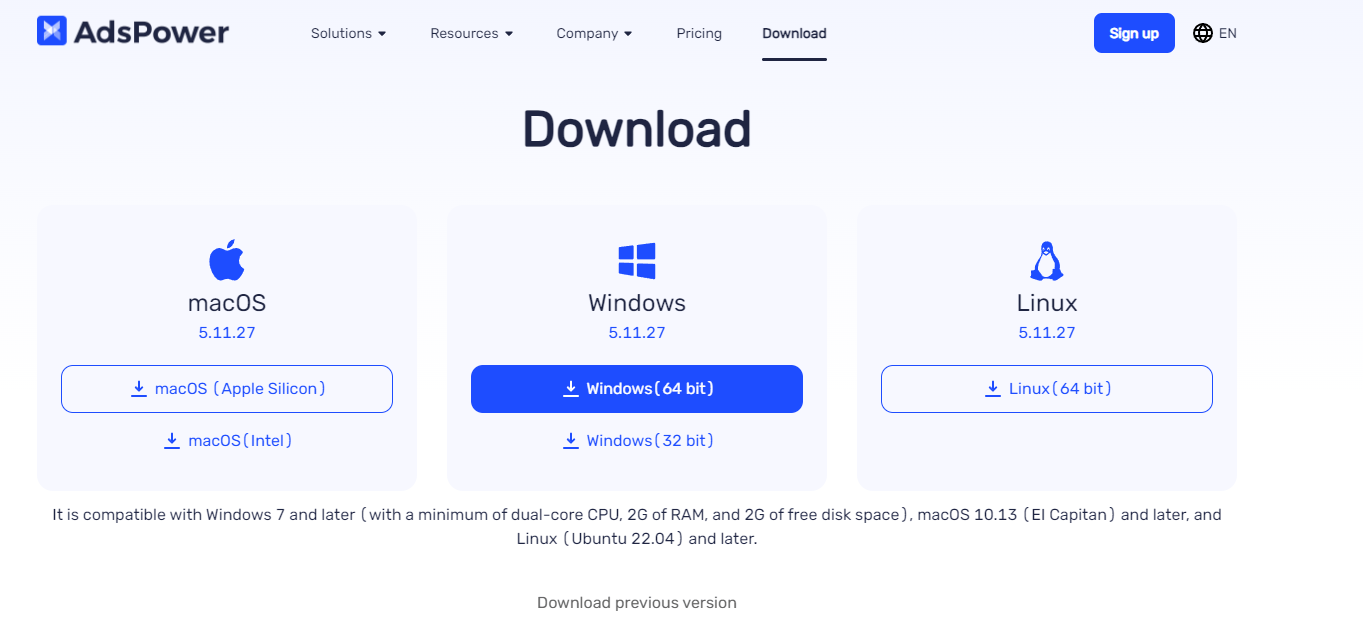
Wait for the download and installation of AdsPower on your PC. The first launch may take a moment as the browser checks for available updates.
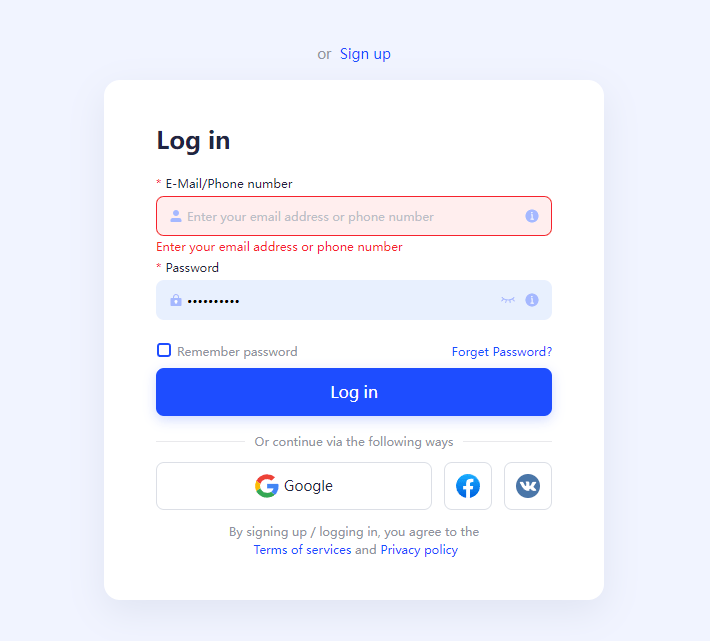
The login interface will appear on the screen. You will need to sign in to AdsPower using your username and password or create an account. To create a profile, click the “Sign up” button:
Fill in your email, password and referral code (if you have one) and agree to the terms of use:
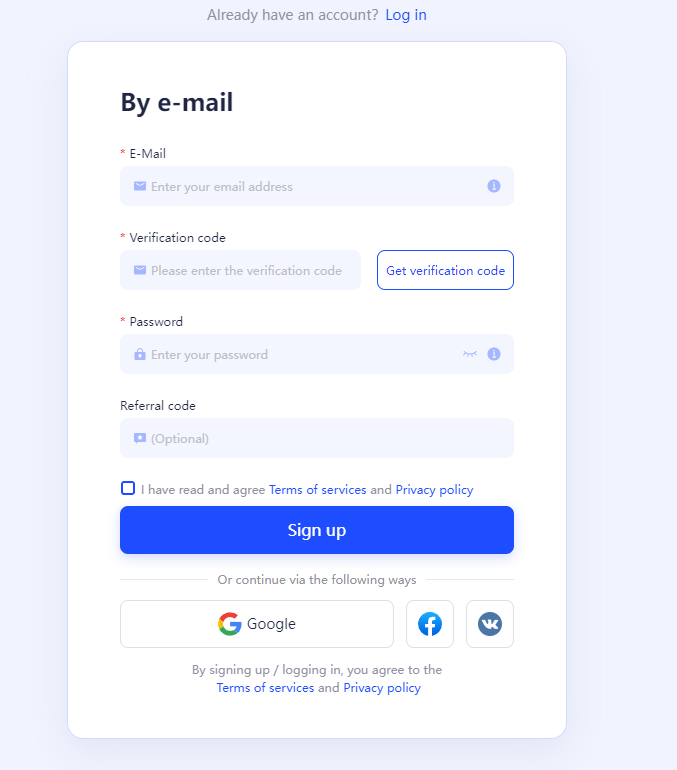
An activation email will be sent to your email address and you can only access your account after confirming your registration:
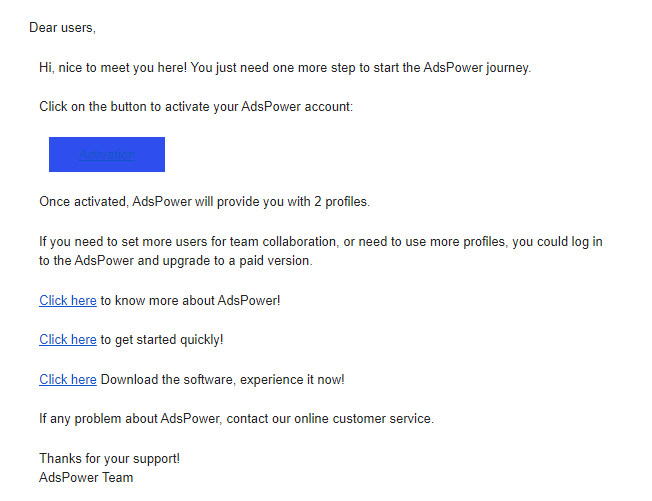
By default, you will be on the Free plan. To choose a different plan, click “Upgrade” in the lower-left corner:

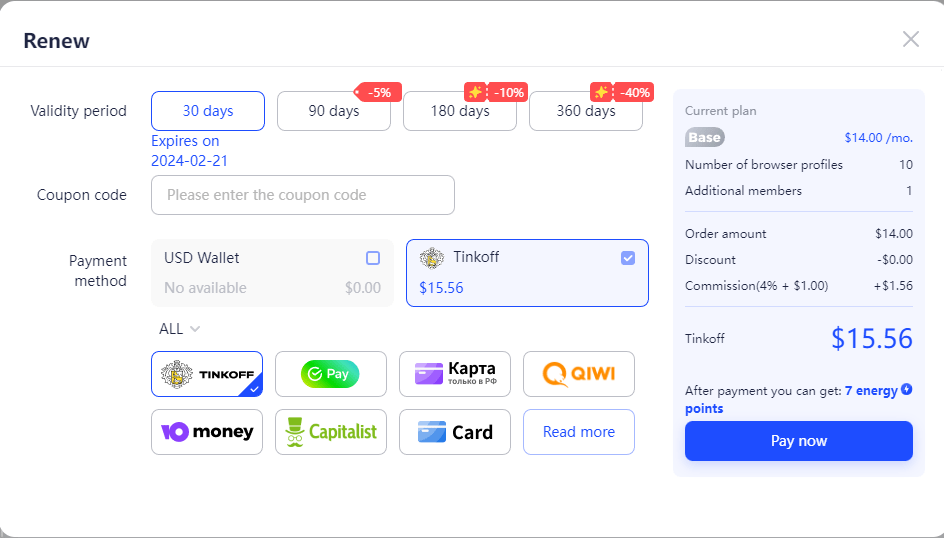
Select the plan, number of profiles and users and click “Pay”. You can also try the Base or Pro plan for 3 days.
You can make payment for AdsPower using USDT, credit card, Capitalist, Qiwi and other:
AdsPower interface overview
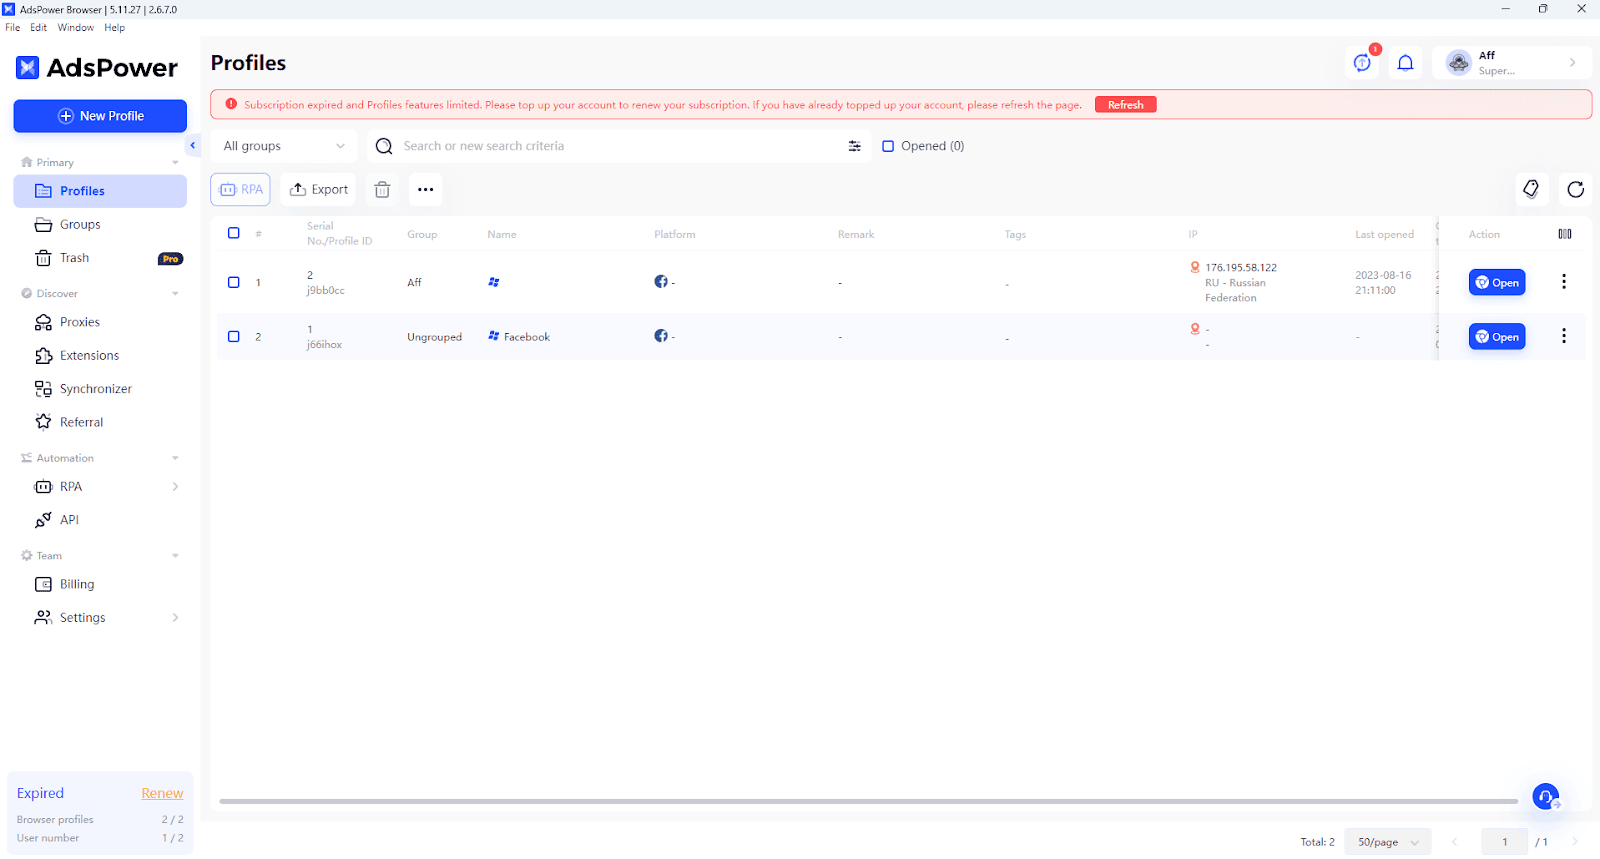
The first page you’ll see when launching the AdsPower anti-detection browser is the “Profiles” page. Here all your created profiles are displayed, with the ability to search and filter them by groups and tags:
Top right corner:
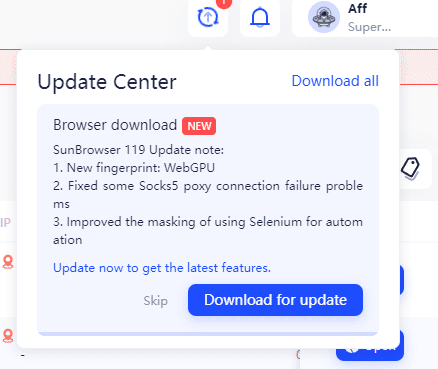
- Update Center – where all important AdsPower updates are listed:
- Notifications;
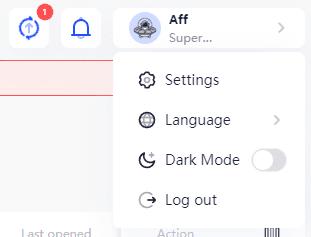
- Profile settings, language change, theme customization and the log out button:
On the left is the menu, which contains several subsections:
- Primary;
- Discover;
- Automation;
- Team.
In the “Primary” section, you’ll find your profiles, profile grouping and the profile basket.

To create a new profile, click the “New Profile” button on the left and choose the method of creation. In our case, we will use a single import.
First, specify the profile name and group. Unlike many anti-detect browsers, here you can create a group right in the profile import interface – it’s convenient:
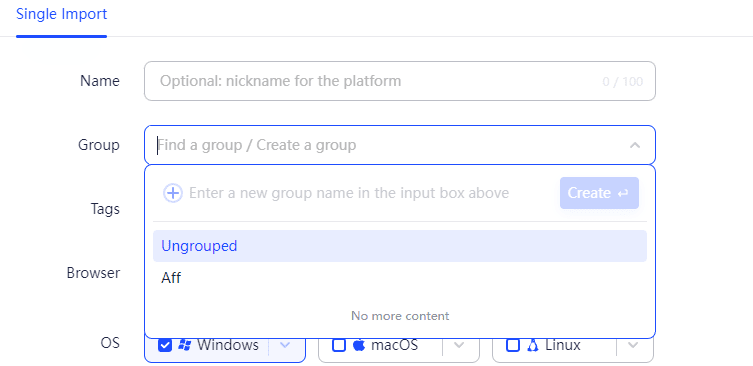
Add tags to make it easier to navigate through a large number of profiles. Then choose the engine – AdsPower offers two: Chromium and Firefox.
Next, you can select the OS and browser version, add cookie files and remarks:

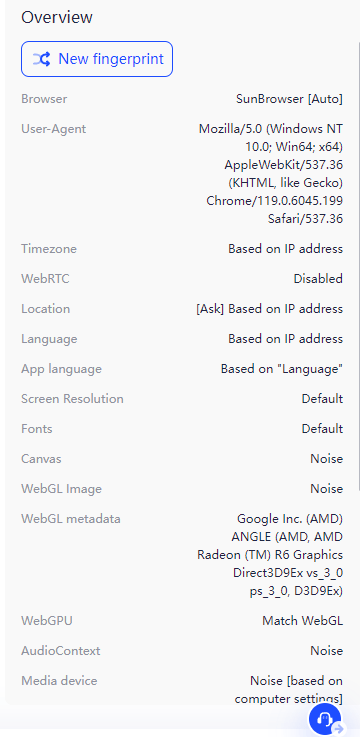
On the right information about your fingerprints will be displayed:
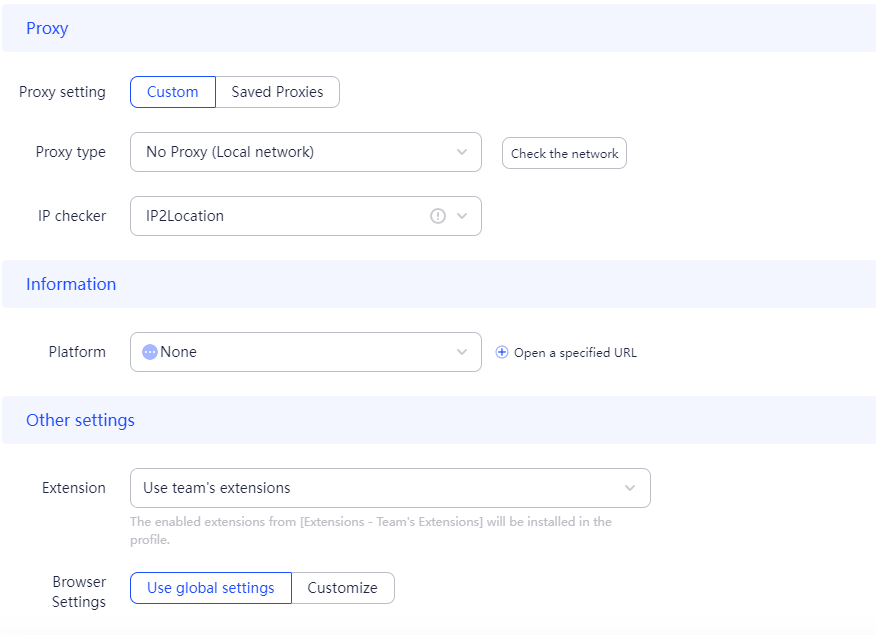
Then add proxies and select the platform. For example, if you choose Facebook, you can configure login and password, cookies or c_user login:
The profile will immediately appear on the main page. To launch it, click “Open” next to it:

You can configure automation for the profile, export it, move, delete, edit and much more:
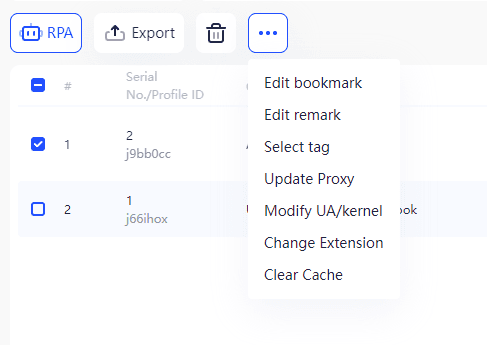
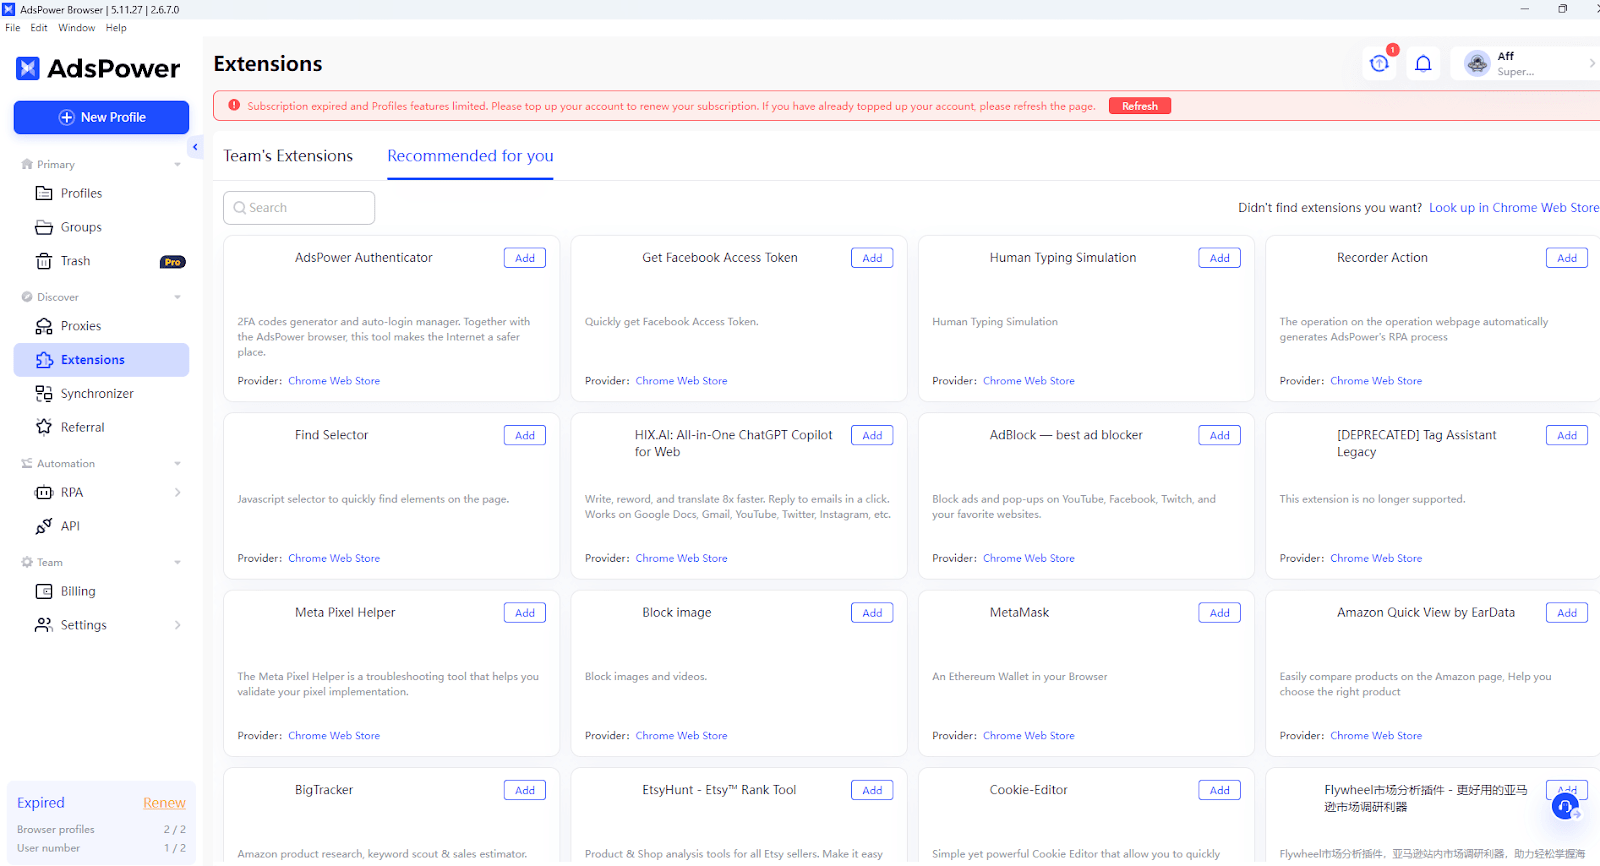
The “Discover” section is where you can connect proxies, configure extensions, a synchronizer or track your earnings through the referral program. For example, this is what the extension store looks like:
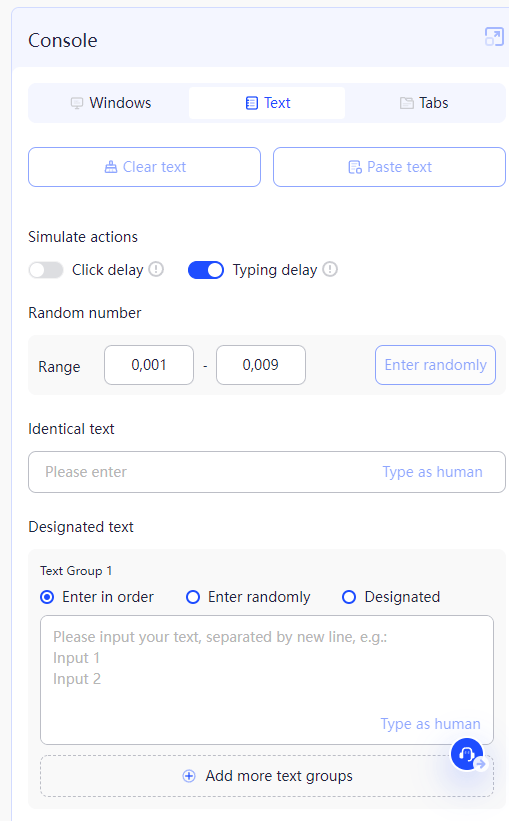
And the synchronizer allows you to enable human input on open profiles:
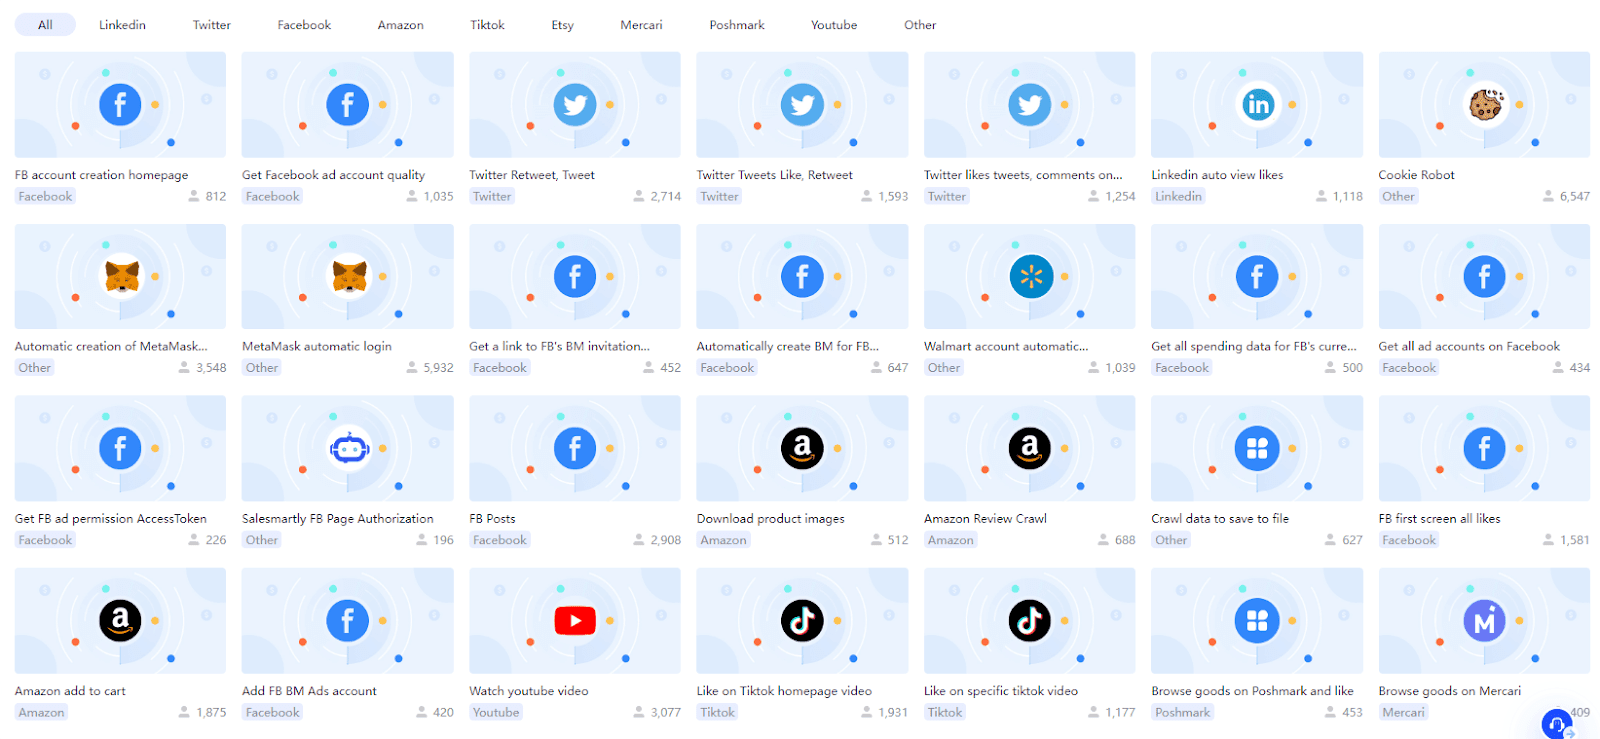
The “Automations” section is used to configure automation through RPA and API. In the first case, there’s a user-friendly interface to set up actions and the option to purchase ready-made RPA plugins in the store:
In the “Team” section, you can handle subscription payments, configure team access and levels. You can also view the action log here.
Reviews of AdsPower
AdsPower is a popular anti-detection browser that allows you to use real fingerprints and achieve maximum anonymity. Reviews about this anti-detect tool are mostly positive. Webmasters and affiliates appreciate the convenience and safety of using AdsPower.
You can also leave your own review of AdsPower and share your experience, explaining why you chose this anti-detect tool over others.
Conclusion
It’s good to have alternatives in the market and avoid monopolies. This allows webmasters to choose comfortable products and creates healthy competition that leads to development.
AdsPower is a worthy alternative for webmasters, marketers, crypto investors, bonus hunters and other professionals, who need to create unique profiles and avoid bans.
Also, read our reviews of:


